Menu | Tools > Surfaces > New > Regular Gridded |
Tool |
|
Menu | Tools > Surfaces > New > Regular Gridded |
Tool |
|
Regular gridded surfaces can be created from a specific track line or lines, from a defined area or from the full extents of the data.
You do not need to select a data line or lines before starting to create a surface. If you do select a line, there is an option to use only the selected lines in the surface. If this option is selected, the extents settings will only apply to those selected lines.
Surface creation is not interrupted if it encounters bad data. The process will skip the part of the line containing bad data and continue creating the surface with the next line. Once the surface is complete you can decide whether or not to remove the partial line.
All track lines must be merged before a surface can be created. |
The steps to create a new gridded surface are:
• Name the surface
• Set extents of the surface
• Set a resolution, type and Vertical Datum for the surface.
• Set values for a Depth Filter.
• Set options for adding data to surface using:
• Swath Angle Weighting
• Shoalest Depth True Position
• Uncertainty
• CUBE
• Set CUBE parameters
See Gridded Surfaces for descriptions of each type of surface.
Interface
Gridded surfaces are created using the New Surface wizard. The number of steps in the wizard is determined by the type of surface being created.
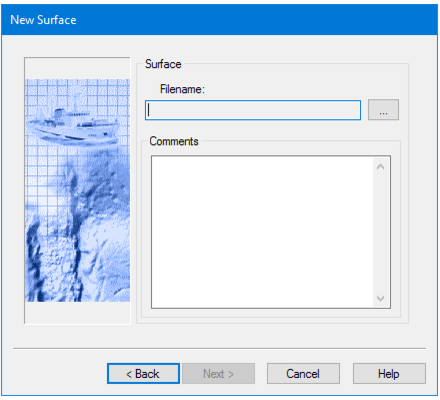
Procedure
1. Select the Tools > Surfaces > New > Regular Gridded command.
2. Click Browse and select a folder to save the surface file to.
3. Type a name for the surface file.
4. Click Save.
5. Type any necessary Comments in the text box.
6. Click Next.
