• Map: A map of the sensor location, powered by OpenStreetMap. The Expand Map button  in the top-right corner of the map can be used to go to the Map page, which provides a full page map view. See Map for more information.
This page provides detailed information about a selected site. The page is divided into three sections:
• Map: A map of the sensor location, powered by OpenStreetMap. The Expand Map button in the top-right corner of the map can be used to go to the Map page, which provides a full page map view. See Map for more information.
• Details: Detailed information on the site accessible from the tabs:
• General: This tab provides the general information about the site, such as its name, address, status and coordinates. This information can be changed if needed:
1. Click the Edit button to enable edit mode for the tab.
2. Manually type in any new values.
3. Click the Save button to apply any changes.
The last received values from all voltage type datasets are displayed.
This tab also displays the elapsed time since the last data ingestion from the site. Controls are provided to enable or disable notifications when the site has stopped pushing data to the Flowlink Cipher database. When enabled, a threshold can be defined in hours or days to trigger the notifications. By default, all new sites will have these notifications enabled with a threshold of one day. To change the threshold for the notifications:
1. Click the Adjust threshold  button.
2. Ensure the Enabled check box is checked.
3. Select the duration value from the drop-down list.
4. Select days or hours for the duration period.
5. Click the Update button.
• Events: This tab provides a log of any activities relating to the site, such as the ingestion of data or assigning the site to a site group.
• Devices: This tab lists all devices installed at the site. This information is populated automatically when a device is installed and activated at a site.
• Logs: This tab provides a log of all site-specific events, such as the addition of a device, data being imported or ingested, a change in the state of the site, changes in attachments, changes in settings, etc. A textual note can be added to an entry, if desired, to provide further information about the event. To add a note:
1. Click Add a note below the relevant log entry.
2. Enter the text in the field provided.
3. Click the Save button.
• Attachments: Any documentation or image files related to the sensor that have been uploaded to the system. To add an attachment:
1. Click the Add button in the bottom-right corner of the Attachments area.
2. Navigate to the relevant file and click Open.
The attachment is added.
To view an attachment, click the thumbnail of the file in the Attachments pane of the page.
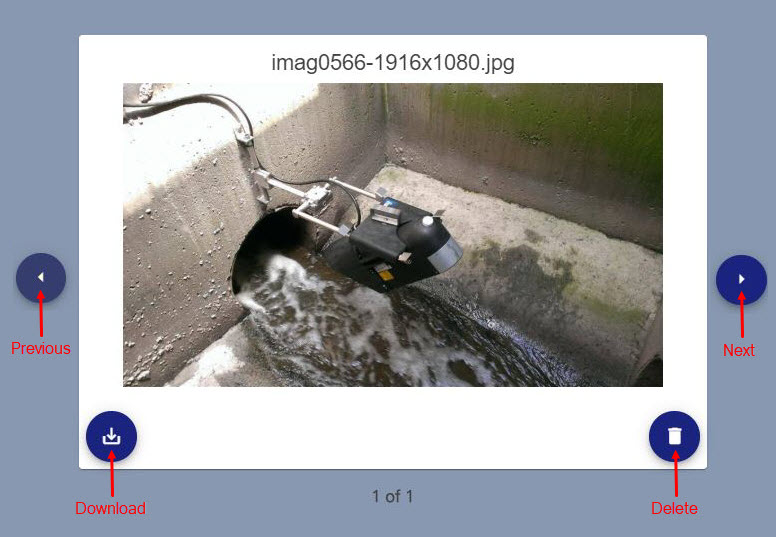
In this view, you can:
• Click the Previous and Next buttons to view other attachments.
• Click the Download button to save the file to your local computer.
• Click the Delete button to remove the displayed attachment from the site details page.
3. Click outside of the expanded attachment view to close the attachment and return to the site information page.
This page also provides a button identifying the tenant that a site belongs to, if it has been associated with a tenant. This button can be used to assign the site to another tenant.
1. Click the Tenant button.
A dialog box is displayed.
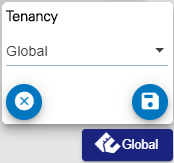
2. Select the new tenant from the drop-down list.
3. Click the Save button.
Related topics:
• Sites