
Alarms are specific to a site and the data it is providing. To specify the conditions for an alarm, you must select the site and dataset to be monitored.
1. Expand the Sites panel by clicking the Sites tab.
This tab contains the fields used to select the source data for the alarm. To simplify finding the correct site, you can filter the list of available sites by first choosing a site group.
2. [Optional] Click the Select a group field and choose a site group from the list.
3. Click the Select a site field and choose the relevant site from the list.
All ingested datasets and computed datasets available for the selected site will be provided in a drop-down list.
4. Expand the datasets drop-down lists to view the available datasets.
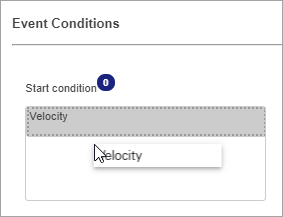
5. Select the dataset that you want to set a condition for and drag it to the top of the Start Condition list.
The same dataset is shown in both the Start condition and End condition fields, however, only the Start condition has an operator and value displayed. This is because, by default, the End condition is the opposite of the Start condition. If a different End condition is needed, the Enable button can be used to enable the fields in the End condition table.
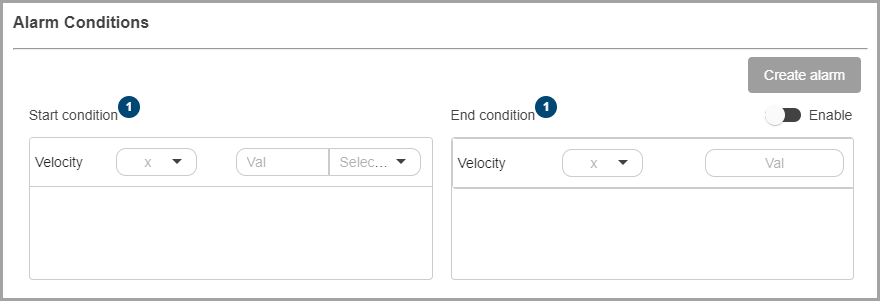
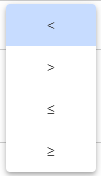
6. Select a conditional operator by clicking the drop-down arrow inside the Start condition field.
7. Click the Val field and type a value for the Start Condition.
8. Select a unit of measure for the value.
9. [Optional] Click Enable to enable editing the expression fields for the End condition.
10. [Optional] Select an operator and type a value for the End Condition.
The condition is now complete.
11. Click Create Alarm.
You are returned to the Settings page and the new alarm is available in the list.
Related topics:
• Alarms