The Colour Map Editor is used to create and edit colour maps. The Editor is accessible from the Colour Map property list when a layer containing elevation values is selected.
By default, colour map (.cma) files are stored in the following directory:
A number of colour files (for example, Rainbow, Seismic, Seafloor, and Topographic) are provided with Teledyne CARIS applications. You can edit these files or create your own as needed.
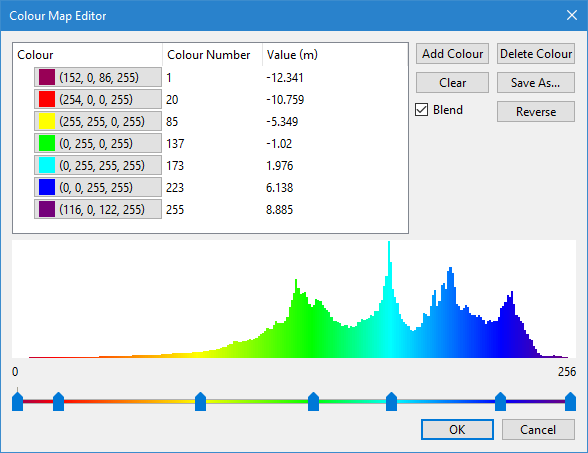
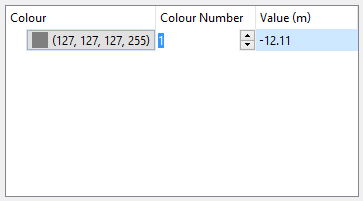
When an existing colour map is open in the Editor, a histogram and a table of colour values are displayed. When creating a new map, the histogram and colour table are empty (no colour values displayed). All colours in the map are listed in the top-left corner of dialog box, along with their corresponding pixel values and depth values.
Each colour in the map is displayed with the RGBA (Red, Green, Blue, Alpha) value for the colour and is assigned a pixel value. The pixel value indicates the colour’s position on the colour bar. For example, if green is at pixel value (location) 75 and red is at pixel value 100, you might add yellow at pixel value 85 to insert it between green and red.
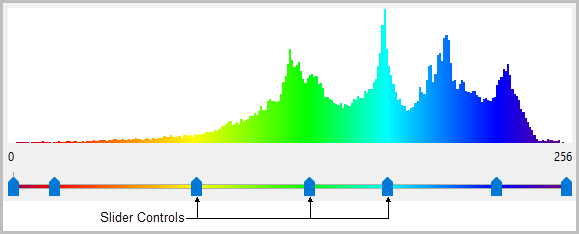
Colours are assigned pixel values from 1 to 255. The first colour is always assigned to pixel value 1. Pixel value 0 is always assumed to be transparent. As you select more colours, the colour values and depths are displayed in a table. Each colour also has a corresponding slider control that can be used to adjust the pixel value.
Each colour is also assigned a depth value based on its location in the map and the range of depths in the current dataset. Using the previous example, if green had a depth value of 50 and red had a depth value of 100, yellow would automatically be assigned a depth value of 75.
Procedure
1. Select a layer with elevation values from the Layers window.
2. From the Colour By list in the Properties window, select the attribute you want to colour by.
3. From the Colour Map list, select New Colour Map to create a new colour file, or select the colour map file you want to edit then expand the list a second time and choose Edit.
The Colour Map Editor is displayed. The Editor provides the following options:
• Reverse Colours: Reverse the shallow and deep ends of the colour map.
• Save As: Save a new or edited colour map.
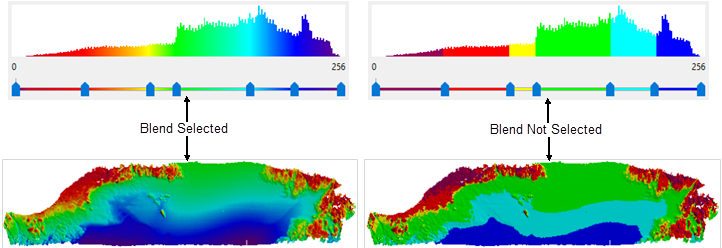
• Blend: Select this option to “merge” colours.
Add a Colour
1. Click Add Colour or click an area of the slider bar that does not have a slider control.
A new entry is added to the table of colours values.
2. Type a Value to assign to the colour.
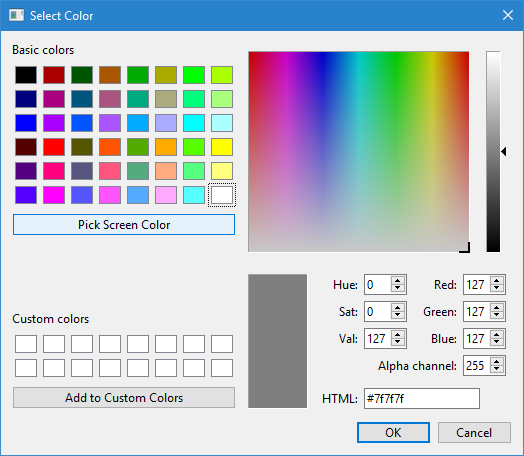
3. Click the Colour value.
This will launch the Select Colour dialog box where a colour can be selected.
4. Select a colour and click OK.
The selected colour is displayed in the Colour Map Editor and added to the table of colour values with its corresponding pixel and depth values.
5. To insert more colours, repeat steps 1 through 4.
6. [Optional] Move the slider control for the newly added colour to adjust its pixel number and value to a more desirable location in the map.
The Colour Number and Value settings for the new colour will change as you move the slider.
7. [Optional] To merge the colours, select Blend.
The following images show examples of depth range colours with and without the Blend option selected.
8. To save the changes to the colour map, click Save As.
The Save As dialog box is displayed.
9. Type a new file name for the colour map, or keep the current name to overwrite the existing file.
All colour maps are saved to the default CMA file directory.
10. Click Save.
The colour map is saved to the folder.
Delete a Colour
If the colour map is more complex than necessary, you may want to remove colours.
1. Select the colour value you wish to remove.
2. Click Delete Colour.
The colour is removed from the histogram and the value it represented will be covered by the next colour in the sequence.
3. Save the changes.
Clear All Colours
If you decide to completely redo the colour map, but did not select <New Colour Map...> from the Colour Map list, the Clear button can be used to remove all assigned colours.
1. With a colour map open, click Clear.
The histogram will now be completely empty.
2. Reassign colours as needed and save the changes.
Reverse Colours
Instead of adding new colours for the pixel values, you also have the option of reversing the order of the colours.
1. With a colour map open, click Reverse.
The order of the colours in the histogram are reversed.
2. Save the changes.
Apply a colour map
To apply a colour map to your current data display:
1. Select the relevant layer in the Layers window.
2. Choose the attribute that you want to colour by in the Colour By list.
3. Select a colour map file from the Colour Map list.
Menu
View > Refresh
Tool
Key
<F5>
4. Refresh the Display window.
The data should now be coloured according to the selected colour map and properties settings.
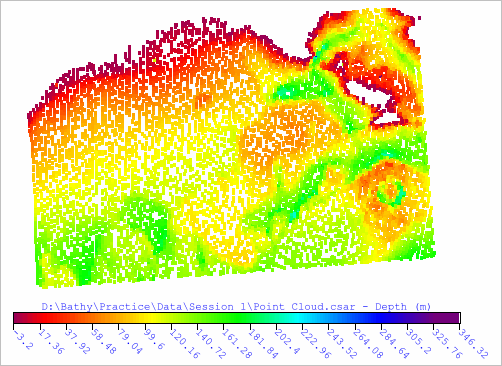
The Legend properties can be used to add a colour legend to the Display window to identify the colours representing depth ranges in the coverage, as seen in the example above.