![]() Admin Tools
Admin Tools
Menu | Tools > User Manager |
Tool |
|
Roles are usually assigned through the User Manager, but can also be assigned to user groups.
Related commands:
• | • |
Changing Passwords – Functionality
When changing a password in the HPD User Manager or Oracle, the existing password is validated. As a result:
• Any user can change their own password and the password of any other user, as long as they know the existing password. The HPD dialog requires that they enter both the existing password and the new password.
• The HPD Oracle schema owner can also change the password of any HPD user, as long as they know the existing password.
Procedure
To set up a user account and assign roles:
1. Select the User Manager command.
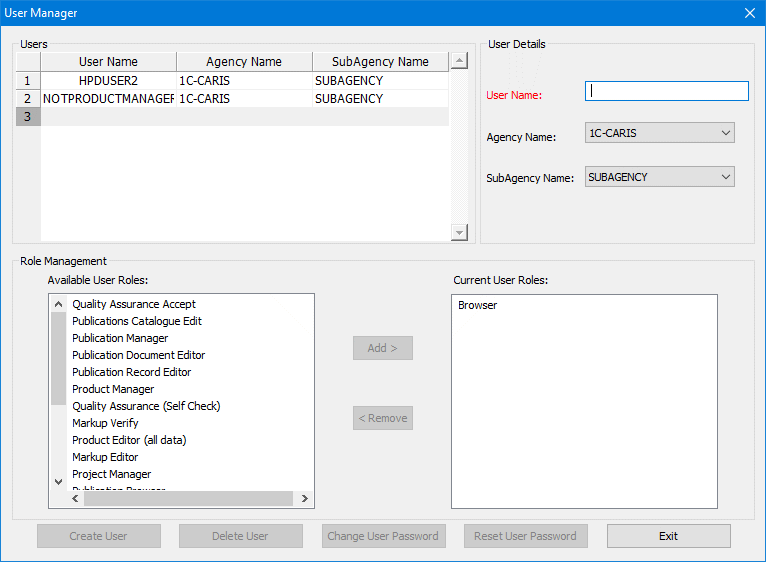
The User Manager is displayed.
2. Complete any of the operations in the table for the User Manager.
Operation | Procedure |
|---|---|
Create new user | 1. Select the empty row in the Users table. The User Details section becomes active. 2. Enter the new User Name. Two users cannot have the same name, regardless of case. You also cannot create a user name that matches the HPD schema owner, regardless of case. 3. Select an Agency Name from the list. Sub-agencies are defined using Sub-Agency Configuration.
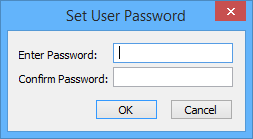
4. Select a SubAgency Name from the drop-down list. 5. Click Create User. The Set User Password dialog box is displayed.
6. Enter the password in the Enter Password field, and again in Confirm Password. The password entry is case-sensitive. 7. Click OK. Roles can now be assigned to the user. The Role Management section contains two lists: • Available User Roles: Roles ready to be assigned to a user • Current User Roles: Roles that are already assigned. 8. Select one or more roles from Available User Roles: • To select a single role, click it with the mouse • To select a range of roles, click the first role and, while holding the <Shift> key, click the last role in the range • To select multiple roles, press and hold the <Ctrl> key while clicking each role you want to include. 9. Click Add. 10. To remove roles, select one or more roles in Current User Roles and click Remove. |
Edit user | 1. Select a user in the Users table. The User Details section becomes active. 2. Edit any of the fields as required. |
Reset user password | Assign a temporary user password until a new password is selected. The temporary password is generated by the application. 1. Select a user in the Users table. 2. Click Reset User Password. A message asks if you want to reset the password. 3. Click Yes. The Password Reset message is displayed. This message lists the temporary password that has been assigned to you. 4. Click Close. You can now use the temporary password and change it to a permanent password. |
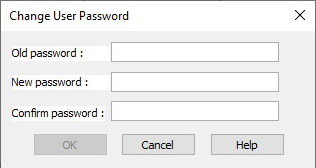
Change user password | See Changing Passwords – Functionality for more information. 1. Select a user in the Users table. 2. Click Change User Password. The Change User Password dialog box is displayed.
3. Enter the existing password in Old Password. 4. Enter the new password in New Password and Confirm Password. 5. Click OK. A message tells you that the password is changed. |
Delete User | 1. Select a user from the Users table. 2. Click Delete User. A message asks if you want to delete the user. 3. Click Yes. The user is deleted. |
3. Select Exit to close the User Manager.
You are prompted to save any changes.
4. Click Yes.
The User Manager is closed, The newly created users are listed in the Users branch in the Object Browser.

When a user is selected, information that was set in the User Manager is displayed in the Properties window. This information is read-only.