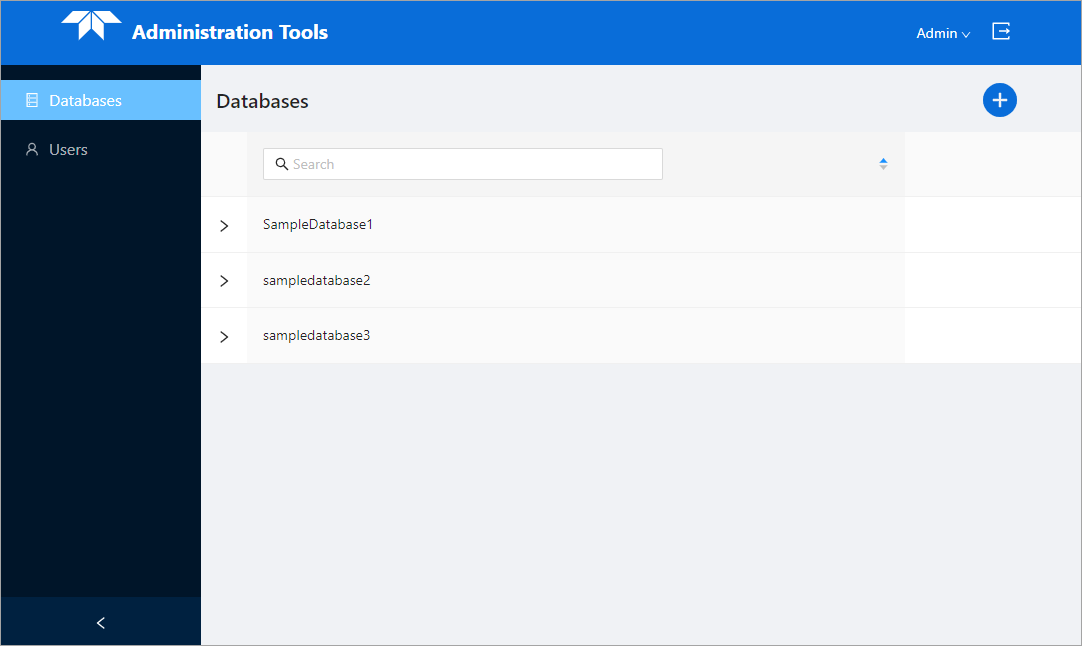
The Databases page contains a list of all databases that have been created in the current server instance.
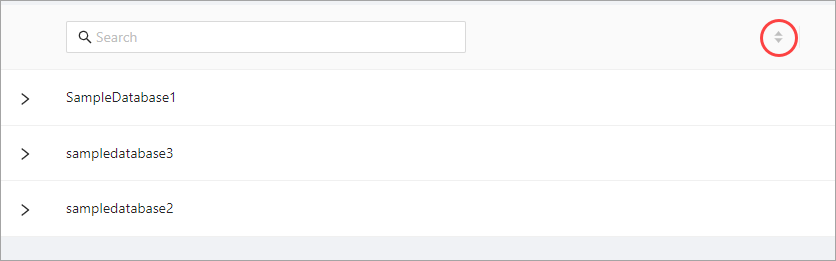
By default, the database list is sorted according to the date they were created or edited. The arrow buttons at the top of the list can be used to sort the list in ascending or descending order if desired. Clicking the arrows a third time will cancel the sorting and reorder the list according to the modified date.
The list can also be filtered using the Search field above the list. This is a text-based search that filters the list automatically as text is entered in the field. The X button ![]() at the end of the field can be used to clear the filter.
at the end of the field can be used to clear the filter.
Add a New Database
The Add new button  above the database list can be used to create a new database. To create a new database, the user must have the Database Manager user role.
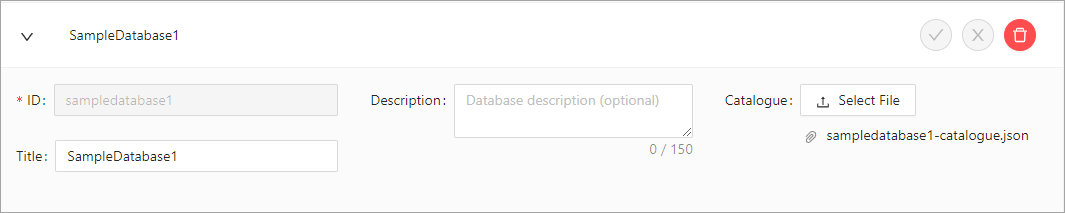
The following settings are available when creating a new database:
Setting | Description |
|---|---|
ID | This is the database identifier that is used internally by the application. Each database must have a unique ID. The ID must start with a letter and can contain only letters and numbers; special characters (e.g. &, #) are not supported. |
Title | This is the database identifier displayed in the application interface. This setting is not required, but can be useful for creating easily identifiable database names. The value does not need to match the ID, nor does it need to be unique within the server instance, allowing different users to use the same database identifier if needed. Any characters can be used in a title. |
Description | A brief textual description of the database. The content cannot exceed 150 characters. |
Catalogue | Each database uses a catalogue file to control the acronyms, attributes and relationships of features that are available in the database. The catalogue file must be in the .json format. 1. Click Select File to launch the Windows Open dialog box. 2. Navigate to the relevant catalogue file and click Open. The name of the selected file will be displayed. This will be updated to match the database ID once the database creation is completed. |
Note: A red asterik indicates a mandatory setting. |
To create a database:
1. Click the Add new button.
2. Enter an ID for the database.
3. [Optional] Enter a Title and a Description for the database.
4. Select a Catalogue file.
5. Click Save  .
.
Edit Database Settings
Information about each database can be viewed by clicking the arrow beside a database name to expand the panel for that database. The settings displayed in the panel can be edited if the user has the necessary permissions.
If the current user has the necessary permissions, the expandable database panel can be used to edit the database settings.
The Database Editor role is required to edit database settings. |
To edit a database:
1. Expand the panel for the relevant database.
2. Edit the ID, Title or Description as needed.
3. Select a different catalogue file is needed.
4. Click Save .
If the changes are not wanted, the Discard button  can be used to undo the changes. If changes are made but not saved, a message will be displayed prompting to save the changes when the Discard button is clicked or when the database panel is collapsed.
5. Click Continue working if further changes are needed, click Discard to undo the changes or click Save to apply the changes.
Delete a Database
If a database is no longer needed, it can be deleted using the Delete button  in the expandable database panel or the Delete button
  displayed when hovering the mouse cursor over a database in the list. This is a permanent removal of the database; once it is deleted it cannot be recovered. Any data saved to the database will also be deleted along with the database.
The Database Manager role is required to delete a database. |
To delete a database:
1. Select the relevant database.
2. Click the Delete button.
A message is displayed to confirm the deletion of the database.
3. Click Yes to delete the database.