Offline revocation is a multi-step procedure that is used to remove a license from a computer that does not have internet access. There are three steps involved:
1. Generating and submitting a permission ticket request for the activation to be revoked.
2. Applying the permission ticket to the computer where the license was activated.
3. Generating and submitting proof of revocation.
Step 1: Permission Ticket Request
The first step of the procedure is to generate a permission ticket to have a license activation revoked.
1. Select the License Manager command to launch the License Manager dialog box.
Menu | Help > License Manager |
2. Click the Revoke local licenses button in the License Manager.
3. Select Offline Revocation from the drop-down list.
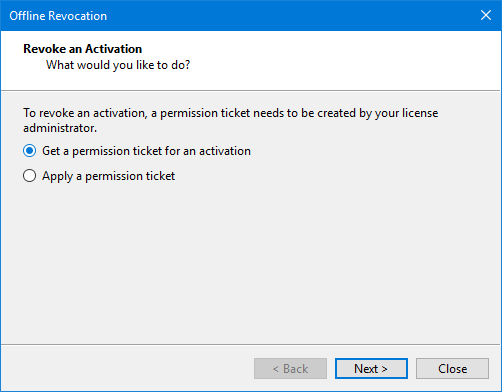
The Offline Revocation wizard is displayed. This wizard is used first to generate the permission ticket request and then again to apply the permission ticket once it is available.
4. Select Get a permission ticket for an activation.
5. Click Next.
The Available Activations step is displayed.
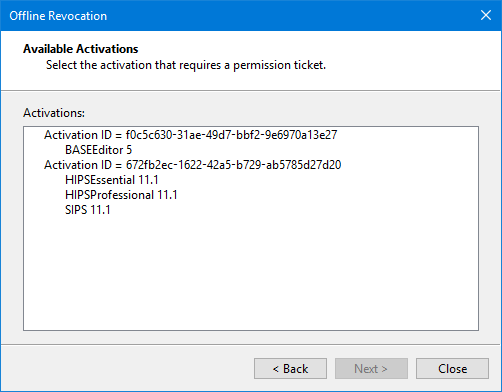
A license can provide activations for multiple products and/or modules, which are identified using an AID. This step lists all products that have been activated on the computer with the license being revoked. Only one activation can be revoked at a time. This will remove the licensed functionality associated with the AID, but will leave all other functionality unchanged.
6. Click the activation in the list that you want to revoke.
7. Click Next.
The Permission Ticket Request step is displayed.
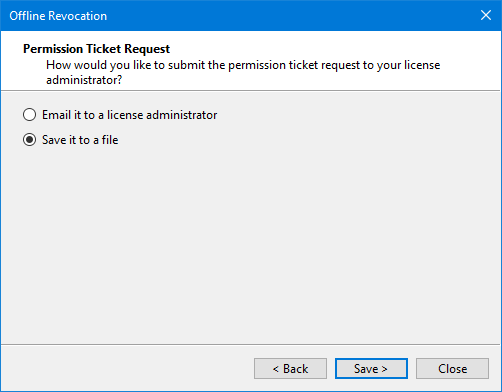
This step generates a permission ticket request file. This file contains the AID for the activation being revoked and must be provided to the license administrator in order for the activation to be revoked in the license portal. The file can either be submitted directly using email, if available, or saved to a portable storage device that can then be taken to another computer that has internet access and the file can then be delivered from that machine.
8. Click either the Email option or the Save option.
9. Click either the Email or Save button, depending on the selected option.
10. If you chose the Email option, a dialog box is opened to send the email using the default mail application on the computer. Depending on the application, the permission ticket request file may be attached automatically, if not, browse to the file and attach it to the email and send it to the license administrator.
If you chose the Save option, the default Save As dialog box is displayed. Save the file somewhere that it can be shared and then send it to the license administrator.
Step 2: Apply Permission Ticket
Once a permission ticket request has been received by a license administrator, the activation will be revoked on the license portal and a permission ticket generated. The permission ticket will then be emailed back to apply to the license on the local computer.
1. Save the permission ticket file to the local computer from the email received.
2. Select the License Manager command to launch the License Manager dialog box.
Menu | Help > License Manager |
3. Click the Revoke local licenses button in the License Manager.
4. Select Offline Revocation from the drop-down list.
The Offline Revocation wizard is displayed.

5. Select Apply a permission ticket.
6. Click Next.
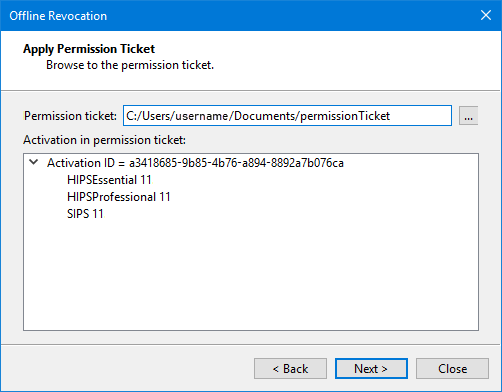
The Apply Permission Ticket step is displayed.
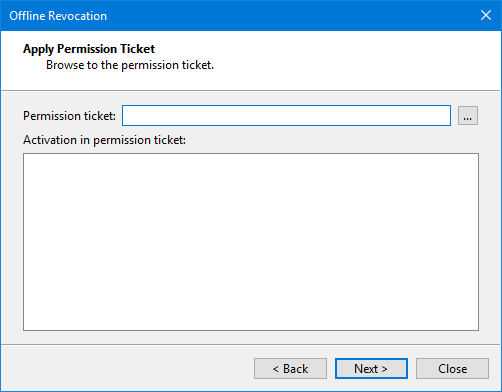
7. Click the Permission ticket browse button (...).
8. Navigate to the permission ticket file that was saved from the email and click Open.
The dialog box is populated with AID of the activation that will be revoked.
9. Click Next.
A message is displayed asking for confirmation of the revocation.
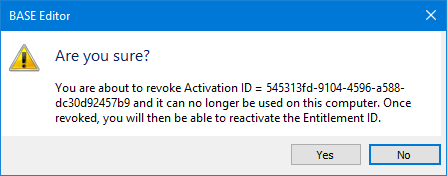
10. Click Yes to complete the revocation or No to cancel.
The activation is revoked from the local computer and the revocation proof step is displayed.
Step 3: Proof of Revocation
The Revocation Proof step generates a revocation proof file. This file must be sent to the license administrator to complete the revocation process and credit the activation back to the license portal.
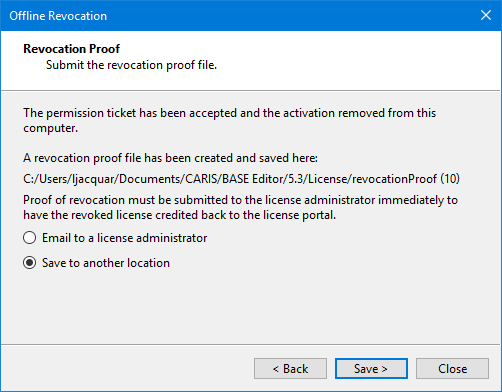
Similar to the permission ticket request step, the file can either be emailed directly to the license administrator or saved to a portable device and provided to the administrator using another computer that has internet access.
1. Click either the Email option or the Save option.
2. Click either the Email or Save button, depending on the selected option.
3. If you chose the Email option, a dialog box is opened to send the email using the default mail application on the computer. Depending on the application, the revocation proof file may be attached automatically, if not, browse to the file and attach it to the email and send it to the license administrator.
If you chose the Save option, the default Save As dialog box is displayed. Save the file somewhere that it can be shared and then send it to the license administrator.
Once the proof file is received by the license administrator, the license will be available to activate on another computer.