
Tool | CZMIL > 01 - Import CZMIL Mission to Survey (Tools window) |
The Import CZMIL Mission to Survey process model is used to import CZMIL data files into a new survey file. The import process generates a folder structure to contain the newly-created survey file as well as the mission planning file and mission execution file that are copied over from the input data during import.
• The survey file contains a reference to the raw surveyed data, with properties populated from the mission executable file.
• The mission planning file shows the mission polygon and the survey lines that were planned to be included in the physical survey.
• The mission execution file shows the actual survey lines that were completed.
The resulting survey file is used in future CZMIL processes to generate a clean point cloud of the CZMIL data.
CARIS Batch process: Import CZMIL to Survey
Interface
The options in this process model include:
Option | Description |
|---|---|
Mission Execution File | The name and location of the mission execution file for the CZMIL lidar dataset. 1. Click the browse button (...) to launch an Open file dialog box. 2. Navigate to the relevant file. 3. Click Open. |
SBET File(s) | The name and location of the SBET file containing the navigation points of the survey. If more than one file was used for the survey, each file can be added to the list. If more than one file is specified, they can be ordered in the list and applied during import in the order they are listed. 1. Click the Add File button 2. Use the Up- and Down-Arrow buttons to adjust the order of the items in the list. The Remove button |
SBET RMS File(s) | The name and location of the SBET RMS file for the CZMIL dataset. More than one file can be added to the list if multiple files were used for the survey. If more than one file is specified, they can be ordered in the list and applied during import in the order they are listed. 1. Click the Browse to File button 2. Use the Up- and Down-Arrow buttons to adjust the order of the items in the list. The Remove button |
Processing Folder | The output location for processed survey files. |
Survey Name | The name to assign to the resulting survey file if the default name is not being used. If this option is not specified, the output folders and files will automatically use the file name of the mission execution file appended with the current date. |
Camera Raw Folder | The location of any camera images from the survey in PhaseOne IIQ raw format that should be copied over during import. |
Buffer Time | The maximum allowable difference (in seconds) in start times between the CZMIL LRAW files and flight lines stored in the CZMIL Mission Execution files. If not set, the default value of 5 will be used. |
Log process information | Create a log file containing the options specified when the process was run. The location of the log file is determined by the Logs setting in Tools > Options > Files and Folders. 1. Click the check box to enable this option. |
Procedure
1. Double-click the Import CZMIL Mission to Survey process model in the Tools window.
The Run Process Model dialog box is displayed, populated with the Import CZMIL process model.
2. Click the Mission Execution File browse button (...) and navigate to the relevant file.
3. Navigate to the relevant SBET File(s).
4. Click the Processing Folder browse button (...) and navigate to the desired output location for the new files and folders.
5. Define any other necessary options.
6. Click OK.
A progress dialog box is displayed providing information about the data being imported. Additional information is also provided via messages in the Output window.
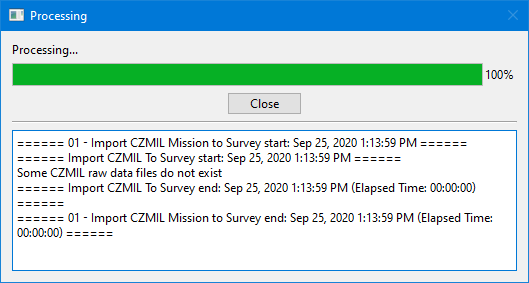
7. Click Close to complete the process.
The dialog box is closed and the new survey file is displayed in the 2D View.
 to select a file to add to the list.