To install Onboard360:
1. Select the drive with the installation files (for example, C:).
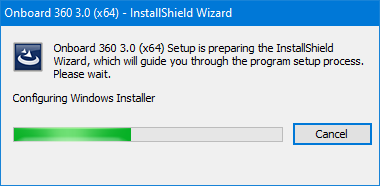
2. Double-click the setup.exe file to start the installation.
The following dialog box is displayed.
If the installation does not find any previous versions, the End User License Agreement is displayed
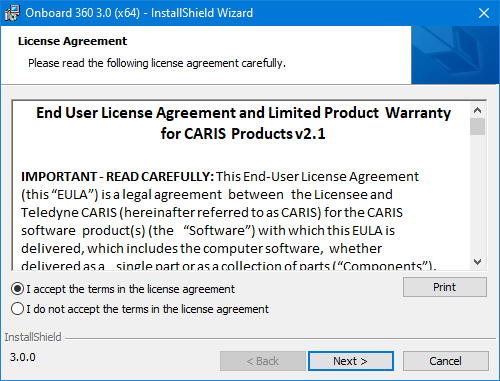
3. Choose to either "... accept" or "... not accept" the agreement and click Next.
If the agreement is not accepted, the installation is cancelled and no further dialog boxes are displayed. If the agreement is accepted, the installation continues.
The Destination Folder dialog box is displayed.
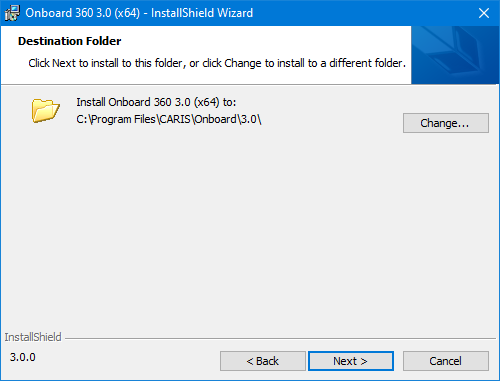
This step allows you to specify where the application will be installed. The default directory is:
C:\Program Files\CARIS\Onboard\<version>
If a previous version of the application is already installed, the current installation directory will be used instead of the default. This directory will contain the files required for the application to run. A different location can be selected if desired.
Because Program Files is a Windows system directory for which some user accounts do not have permission to create or edit files, additional files will be added to a ProgramData directory during installation:
C:\ProgramData\CARIS\Onboard\<version>
This directory will contain any files for which the user may need write permissions.
4. [Optional] To change the location where the application is installed, click Change and type or choose a new installation path.
5. Click Next.
The Custom Setup dialog box is displayed.
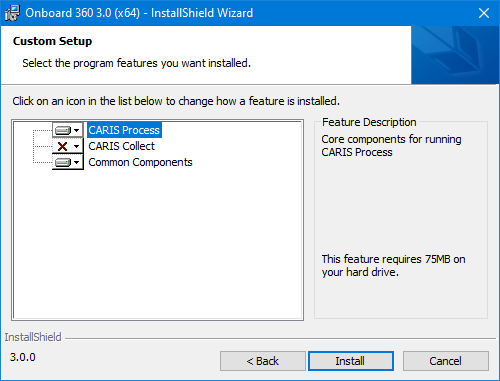
This step is used to select which components of the Onboard360 suite will be installed. Clicking a component name will display a brief description of the component on the right of the dialog box, as well as the amount of space required to install the component. The drop-down icon beside each component indicates whether or not the component is selected to be installed. Clicking this icon will display a list of installation options.
The Common Components item installs files that are necessary and common to each of the components. This items is mandatory. |
6. Add or remove components for the installation as needed.
7. Click Install.
The install process is started and installation progress is shown in the dialog box.
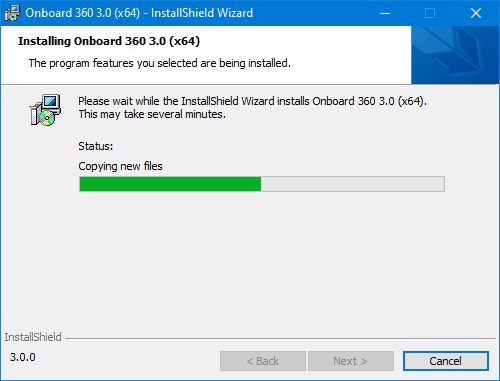
8. [Optional] Click Cancel to stop the installation, if needed.
The following step is displayed when the installation is complete.
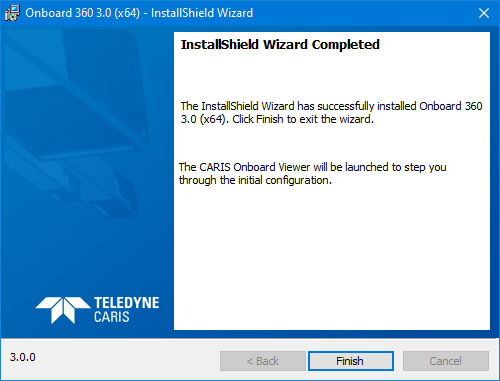
The selected Onboard360 components are now installed, along with the Onboard service.
Shortcuts are added to the Start menu to launch:
• CARIS Collect
• CARIS Process, which launches Onboard Viewer
• Process Designer, which is found under the CARIS Onboard menu item. See the Process Designer documentation for information on using this application.
9. Click Finish to close the installer.
Onboard Viewer is launched automatically when the InstallShield wizard is closed. The first time that the application is launched, a first-run sequence is triggered to configure the license settings for the applications.

For information on license settings, see License Activation.
Once a license has been activated, a message will be displayed prompting to start the Onboard service. This is required to use Control Centre.
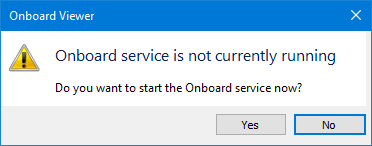
10. Click Yes to start the service.
Viewer is opened and Control Centre can now be launched and configured.