This procedure creates a directory which can be viewed by everyone. It should be performed:
• on each remote operating system on which there is data that Onboard360 needs to access, and
• on each remote operating system on which Onboard360 will need to place processed files.
Set Public Sharing
The following instructions are written for a Windows operating system, and the steps may be different, depending on the operating system that you are using.
1. On the remote system, open Windows Explorer and navigate to the directory that will contain the data that Onboard360 will process.
If it does not already exist, you may need to create the directory to be shared, for example, D:\Onboard_Data.
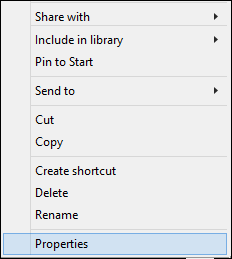
2. Right-click on the directory.
3. Click Properties.
The folder properties dialog box is displayed.
4. Click the Sharing tab.
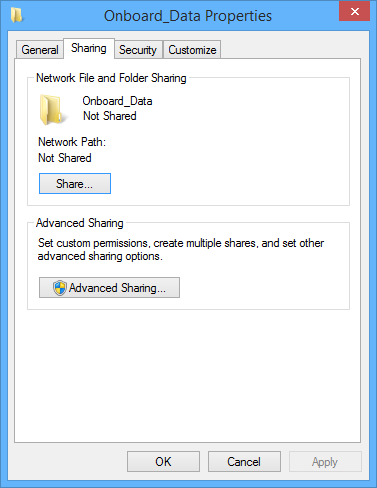
5. Click Share.
The File Sharing dialog box is displayed.
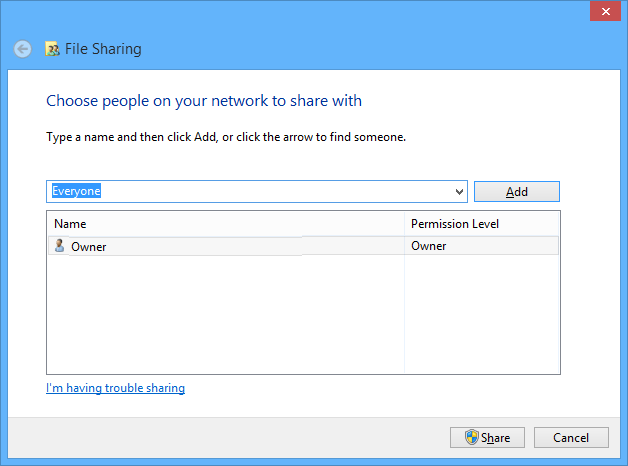
6. In the text entry field for users to share with, select Everyone from the drop-down list.
7. Click Add.
8. Click Share.
The dialog box will change to show that the folder has been shared.
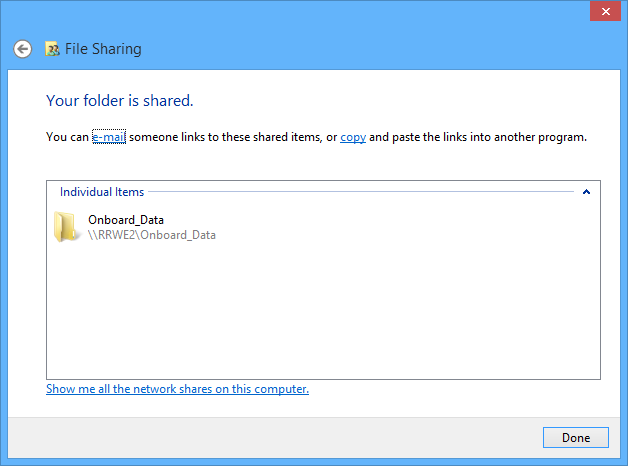
9. Click Done to close the dialog box.
You are returned to the folder properties dialog box.
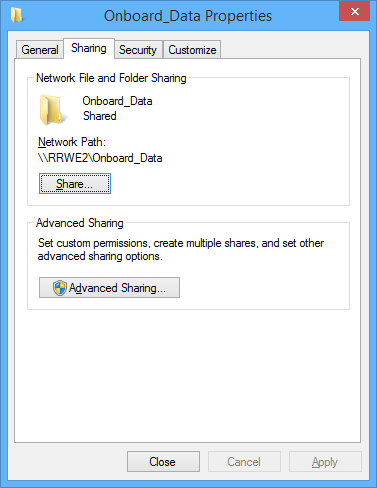
10. Click Close to complete the process.
Add More Rights
If desired, you can change the Permissions Level. By default new users are given only Read access to the shared directory. You may wish to assign more rights to this directory, especially if you wish to diagnose the rights as described in Using Permissions.
1. Click Advanced Sharing on the folder properties dialog box.
The Advanced Sharing dialog box is displayed.
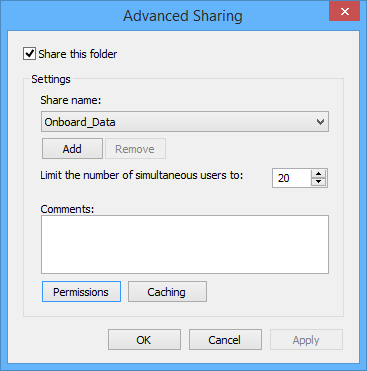
2. Click Permissions.
The folder permissions dialog box is displayed.
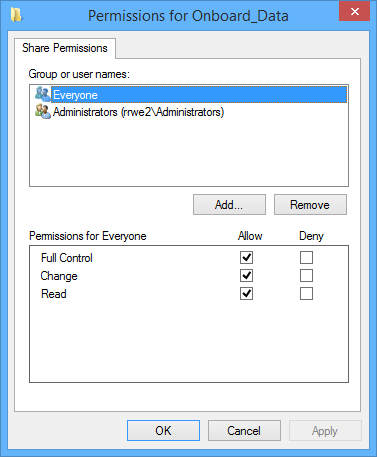
3. Select the Everyone group from the Group or user names list.
4. Check the desired Permissions.
Make sure the permissions match your expectations. In order to diagnose the rights as described in Using Permissions you will need Full Control, Change, and Read permissions.
5. Click OK.
6. Close the dialog boxes.
Verify Permissions
You can verify that the permissions of the directory are set correctly as follows:
1. Click the Security tab on the folder properties dialog.
2. Select the Everyone group from Group or user names.
3. View the permissions.
4. Close the dialog boxes upon completion.
Anonymous Access
You now need to enable anonymous access to the share as follows:
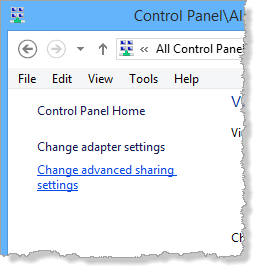
1. Navigate to Control Panel > Network and Sharing Center.
2. Click Change advanced sharing settings in the left.
3. Expand the network group for the network you are currently connected to (typically All Networks, Home or Work, depending on the operating system you are using).
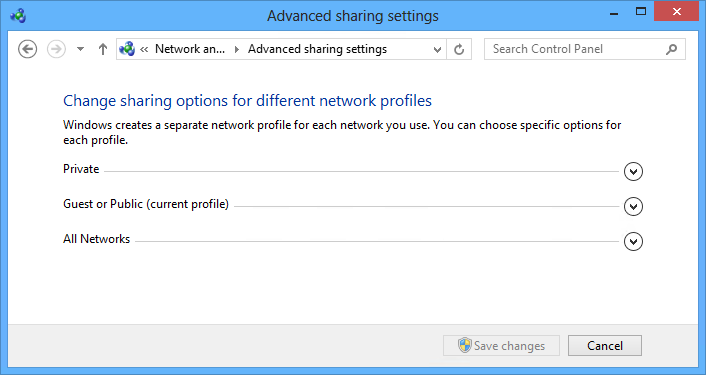
4. Locate the Password protected sharing section.
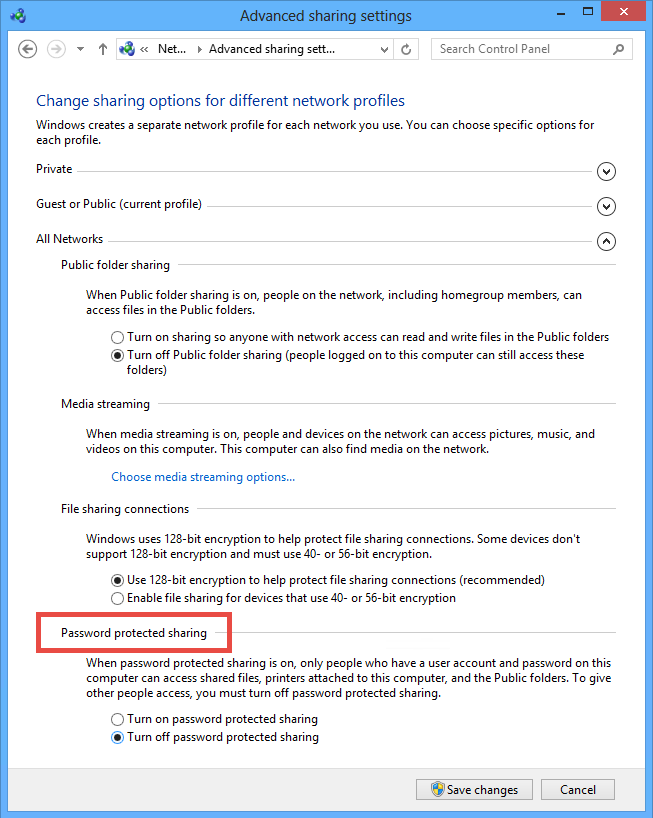
5. Make sure the Turn off password protected sharing option is selected.
6. Click Save changes and close the open dialog boxes.
The technique described in Using Permissions can be used to help determine if the permissions are working.