New HIPS files are created using the New HIPS File dialog box. The default version of this dialog box is used for one-step creation. 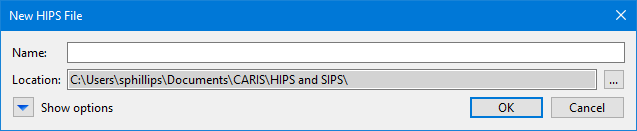
Menu | File> New > HIPS File |
The New HIPS File command opens a dialog box that can be used to create a file containing defaults for all non-optional settings. This allows for one-step creation of a HIPS file, if specific settings are not required.
HIPS data sources are no longer referred to as projects, since the main session file contains all data sources, including HIPS files, and are now referred to as projects, with a *.project extension.
This process can also be applied using the CreateHIPSFile process in Process Designer and carisbatch.
Interface
New HIPS files are created using the New HIPS File dialog box. The default version of this dialog box is used for one-step creation.
The dialog box can be expanded to enable the setting of specific values. 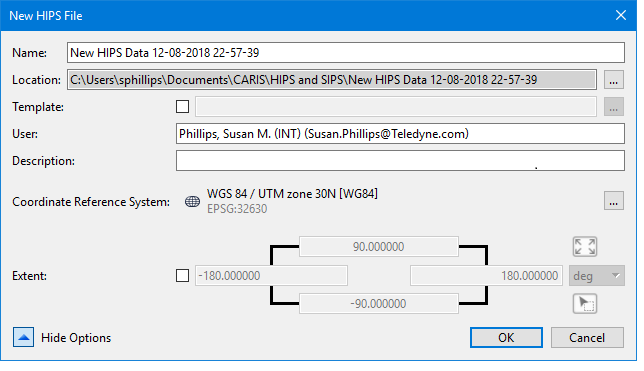
Field | Description |
|---|---|
Name | Name of the new HIPS file. |
Location | Location of data to be used in the new HIPS file. |
Show Options | Expand the dialog box to enter values for specific settings. |
Template | To use a template file to assist in importing certain data: 1. click the Template check box. 2. Browse to a template file. Sample files are found in Activating this option de-activates the User name and Description fields. |
User | Name of user (automatically entered). This field is active if a template is not chosen. |
Description | Enter a description of the data or of the purpose of the file. |
Coordinate Reference System | Default value is displayed. This can be changed using the browse button which opens the CRS available to HIPS and SIPS. To change the CRS back to Automatic (WGS 84) right-click on the Coordinate Reference System label in the dialog box. |
Extent | The Extent option provides three different methods for defining the extent of the data to be included. Coordinates fields: • Activate the check box and type the desired coordinates into each of the rectangular fields. • Select the unit of measure to define the extents of the surface. Use screen extents button: • Click this button to create a surface from the current extents of the view. Pick from screen button: • Click this button to define a section of the displayed data. This changes the shape of the cursor. Use the cursor to drag a box around an area. The X and Y coordinates for the area will be updated based on the selected method. |
Hide Options | Click to hide the options fields. |
Options set in the New HIPS File dialog box are saved and displayed the next time that the dialog box is opened.

