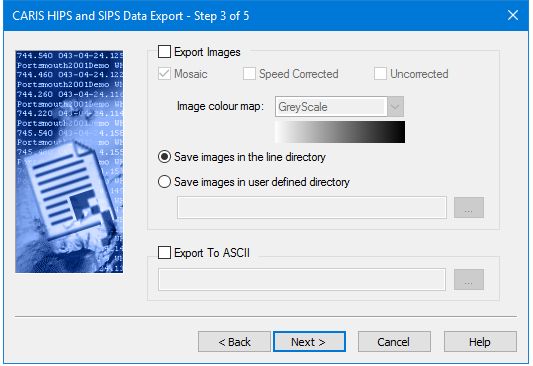
Export contact images to TIFF format in a selected colour map in various formats.
If Export Images is enabled, the selected images can be exported to these formats:
• Mosaic: This option creates a geo-referenced TIFF image from contact data.
• Speed Corrected: This option calculates the distance between profile lines in the contact and corrects for vessel speed.
• Uncorrected: This option does not correct for vessel speed and renders a one-to-one correspondence between the side scan image and the contact.
Images are saved to a select directory location for the contact, either:
• Save Images in the line directory: This option saves the contact data to the line file in the HIPS/SIPS Project/Vessel/Day directory structure set in Step 2.
• Save images in user defined directory: This option saves the contact data in another directory. Click Browse to select the folder where you want to save the data.
Images can also be exported to ASCII. In this case, the file name set is used as the first component of the name of four files that will be created to store the contact information. These files are:
• filename_ContactLine.txt contains information identifying the survey line and indexes to the other files.
• filename_ContactSingle.txt contains all the information for single point contacts.
• filename_ContactMulti.txt contains all information for line contacts.
• filename_ContactMultiPoints.txt contains all location information for multipoint contacts.
For information on the structure of exported contact files, see Contact File Formats .
Procedure
1. Select the Export Images check box to export the contact(s) in TIFF image format.
2. If you select Export Image, select an image format.
3. Select an image colour map from the drop-down list.
The selected colour map is displayed below the list.
4. Select the directory location for the contact, either the line directory or in a directory you select. Click Browse to select the folder to save the data to.
5. [Optional] Enable the Export to ASCII check box and click Browse to select the folder to save the data to.
6. Click Next.